
Applique is not complicated.
When I started out embroidering, I found Applique to be very intimidating. I had no experience with embroidering and applique seemed like a complicated process. If you are only starting out embroidering, and want to give applique a try, here is a quick guide on how the process of applique works.
Once you've started applique you will realize that it is fun and easy, maybe a little time consuming, depending on the detail on the design you choose. It is so exciting to watch the design take shape.
Start with easy designs.
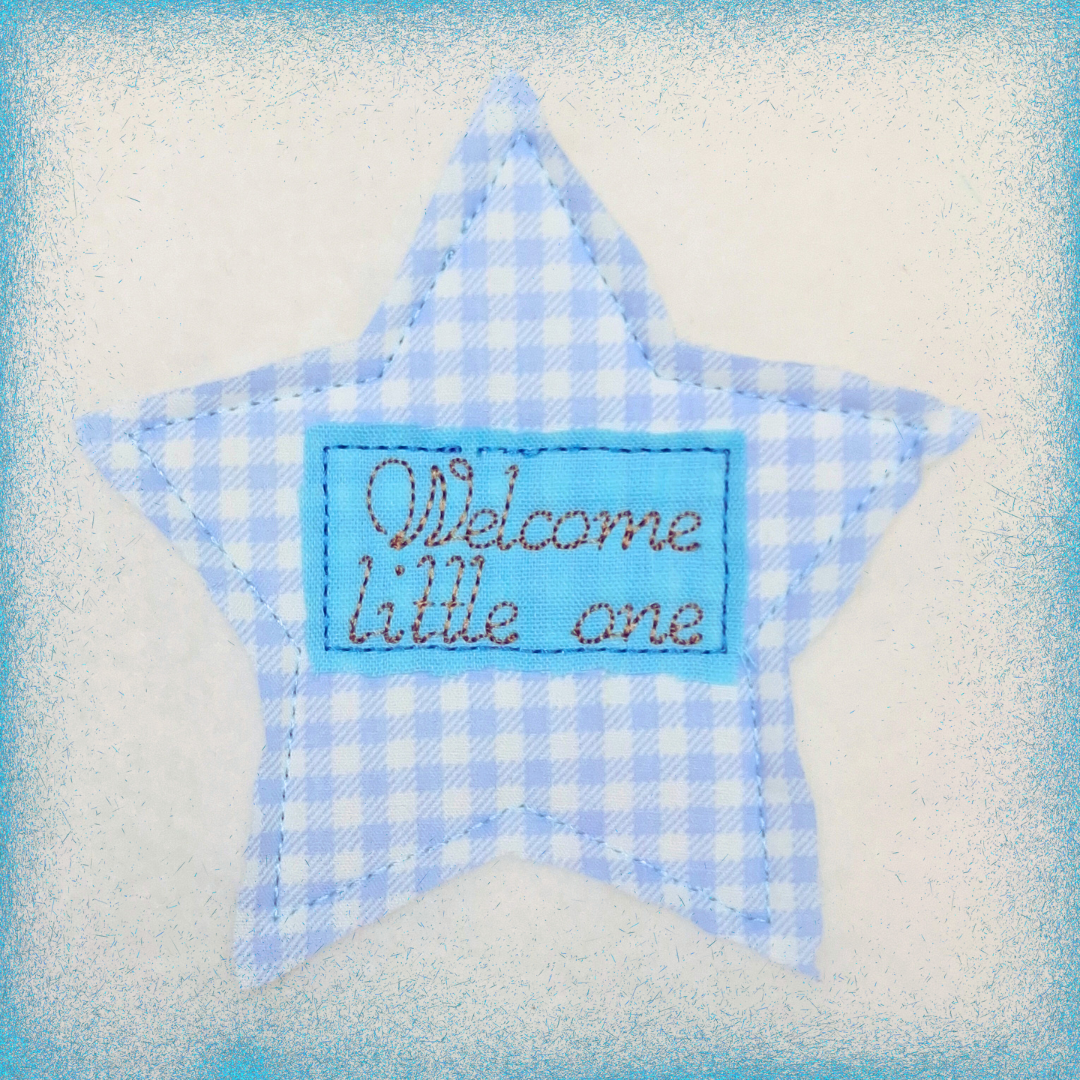
I would suggest starting out with an easy design like the Star Applique Design in the picture above. This design comes with step-by-step PDF Instructions to help you through your first applique project. This is not only an easy design to use to start playing with applique, but a very versatile design that you can use for baby showers and gifts, especially if you don't know the gender of the baby yet. That's the beauty of applique designs, you can use the fabric and colour of your choice.
Applique designs at a glance.
There are basically two ways how applique designs work: The ones with just a running stitch around the design where you can still see the edge of the applique fabric, and the applique designs that has a satin stitch around the border. The process for these two designs work in the same way. There is a sequence of steps that you need to follow to achieve success with the design.
Below you can see the difference between the running stitch applique design and the satin stitch design.


This Strawberry Applique Design is an equally easy design to start with and is perfect for embroidery on projects for the kitchen, and is absolutely adorable on little girls' dresses.
Hooping for applique.
For both design styles you will hoop the suitable stabilizer for the fabric you are using. Keep in mind that if you don't want the stabilizer to show at the back of the design, you can use wash-away or heat-away stabilizer, you can also match the colour thread on the bobbin to the top colour thread. You can hoop your base fabric that the design is going to be appliqued on with the stabilizer, or you can float the design on top.
What in the world is floating fabric?
Floating fabric just means that it is not hooped but is placed down on top of the stabilizer that has already been hooped. The fabric can be secured with temporary adhesive spray or a little piece of painters/masking tape.

Just a note on painters/masking tape: Make sure that the tape is places so that the machine doesn't embroider over the tape as it is sometimes very difficult to remove the tape once it has been embroidered over.
The process of applique on your embroidery machine
An applique design is set up so that the machine embroiders each step in a different colour. You don't have to use those colours. They are set up that way so that the machine stops after each step so that you can change thread colours, lay down your applique fabric, and cut excess fabric as you go.
Next you will place the hoop on the machine and you will embroider the first placement line, this line is usually just a running stitch that shows the outline of the design, or the area of the design that is going to be appliqued. Now that you can see where to place your fabric, you can take the hoop off the machine if you prefer and place down a square of fabric that is a little larger than the design. Once you are sure that the fabric lies flat, you can secure it with painters/masking tape.


The next step is usually another running stitch to secure the fabric in place. For the running stitch design this will be the last step for that particular shape and the excess fabric can be cut away, leaving a little border sticking out on the outside of the running stitch.
If you are doing a design with a satin stitch, there will usually be a zig-zag stitch, and then the satin stitch. The satin stitch is the final step. These steps will repeated for all the shapes that is appliqued in the design.
Sometimes there will be detail like leaves, flowers, tails, eyes, and noses that is embroidered onto the appliqued fabric. This will usually be embroidered after all the applique work is finished. There is nothing complicated to this, all you need to do is follow the sequence on the embroidery machine and change your colour thread accordingly. The combination between applique and embroidery is beautiful and gives dimension to the the design.
An example of this is our cute little Free Chic Applique Design that is perfect for baby and toddler's clothing and Easter egg hunt bag for Easter.

We hope that you will craft beautiful Applique Designs. If you have any questions, feel free to contact us on our contact form on our website or email us at [email protected]
